tutorials
Beginner Weathering: 3 Methods That Don’t Ruin the Sculpt
CraftThinkERA Team
miniature painting
weathering
washes
sponge chipping
pigments
varnish
Controlled grime, edge wear, and dust effects without turning everything brown.
Beginner weathering fails for one reason: it ignores control. The goal is “used,” not “dirty.” Use methods that are reversible, local, and layered.
Method 1: Controlled wash (panel definition, not sludge)
What it does
- Defines recesses and separates details.
How to do it
- Thin your wash until it behaves like tinted water, not paint.
- Apply into recesses only. Do not flood flat areas.
- Clean-up pass: a damp brush or cotton swab lifts excess from raised surfaces.
Safe rule
- Two light passes beat one heavy pass.
Method 2: Sponge chipping (edge wear without chaos)
What it does
- Adds small chips on edges and high-contact areas.
How to do it
- Use a tiny sponge (packing foam works).
- Dab most paint off first; the sponge should feel almost dry.
- Tap on: corners, knees, elbows, weapon edges, base rim.
Safe rule
- Start with a darker mid-tone, not pure black. Black chips read as holes.
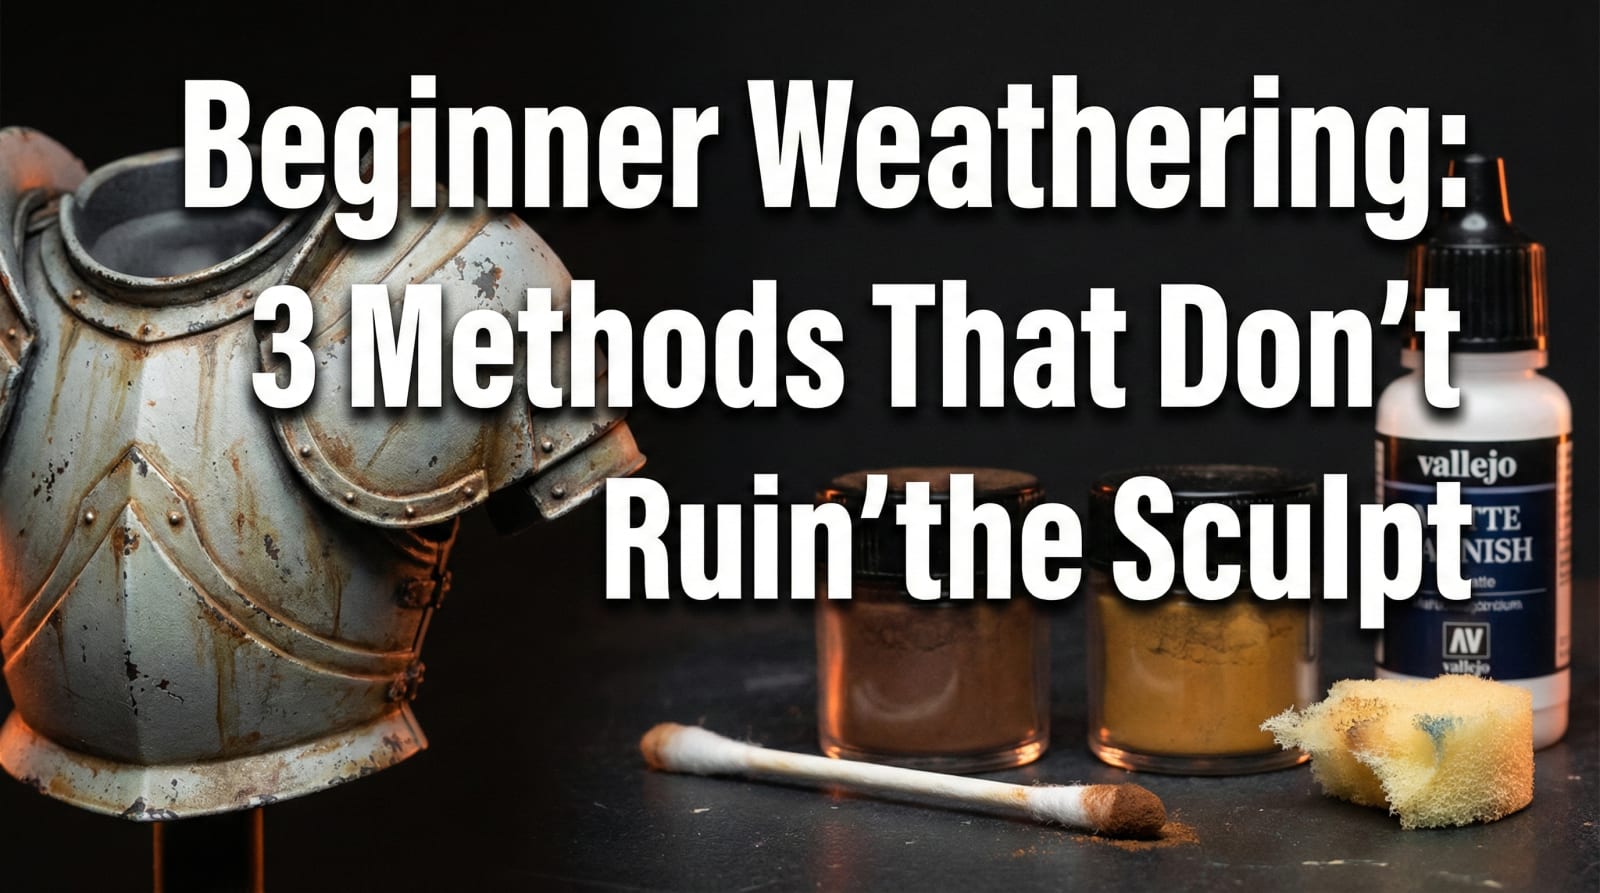
Method 3: Pigments + fixer (dust and soot)
What it does
- Adds natural dirt and dust, especially on boots, hems, bases.
How to do it
- Apply pigment dry with a soft brush.
- Lock it with pigment fixer or very thin matte medium.
- Do not rub after fixing; stipple gently.
Safe rule
- Pigments belong low: feet, lower cloak, base. Heavy pigment on faces kills the sculpt.
Seal coats (the part beginners skip)
- Use a matte varnish to unify weathering and protect it.
- Gloss varnish before a wash helps flow and cleanup (optional but effective).
- Do not over-varnish: multiple thick coats blur detail.
What not to do
- “All-over brown wash” on everything
- One-step weathering with no cleanup
- Random chipping on smooth cloth (chips belong on hard materials)
A simple decision framework
- Metal: controlled wash + light sponge chipping
- Cloth: controlled wash + subtle pigment at the bottom
- Base: pigments + fixer, then matte varnish
Share this article
Stay Updated with Our Latest Content
Get the latest tutorials, product launches, and painting tips delivered to your inbox.